2.04 Node Selectors
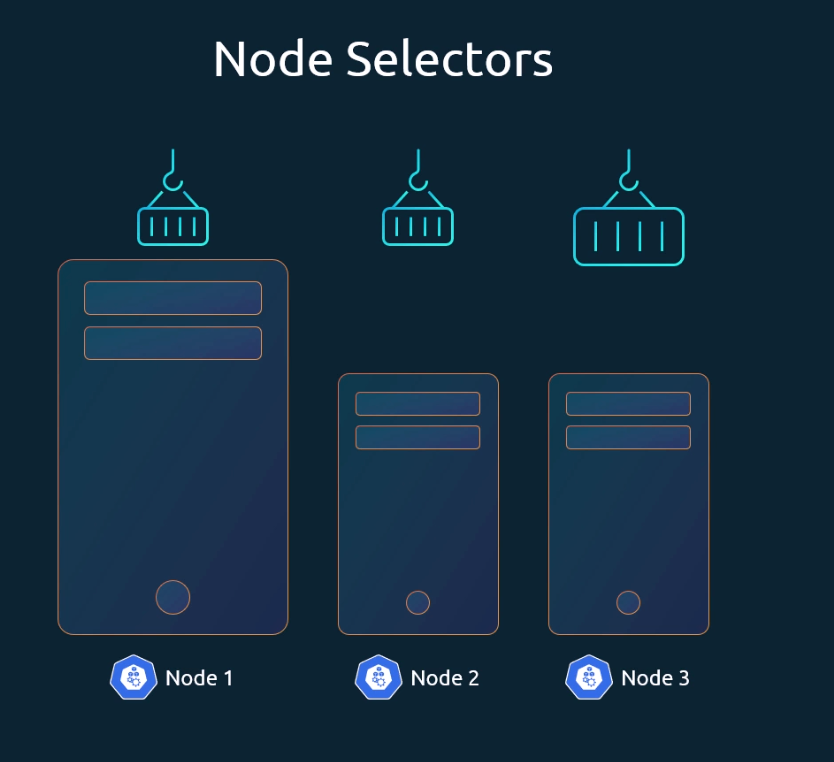
- Cluster has 3 nodes: 2 small (limited resources) and 1 large (higher capacity).
- Heavy data-processing jobs should run on the large node.
- By default, Kubernetes can schedule pods on any node.
- This may place heavy pods on small nodes, which is not desired.
- To avoid this, restrict pods to specific nodes using node selectors (simplest method).
NodeSelector Example
Important
- Nodes are labeled with key-value pairs (e.g.,
size=large). - The scheduler uses these labels to decide where to place pods.
- Nodes must be labeled before using them in a
nodeSelector.
Node Labeling Command
kubectl label nodes <node-name> <label-key>=<label-value>
# Example: kubectl label nodes node-1 size=Large
Pod Configuration with NodeSelector (Click to Expand)
-
In the pod definition file, you can add a
nodeSelectorunder thespecsection withsize: largeto ensure the data-processing pod runs only on the larger node. -
This works because nodes are assigned labels (e.g.,
size=large), and the Kubernetes scheduler matches these labels with the node selector to decide where the pod should run.
Node Selector Limitations
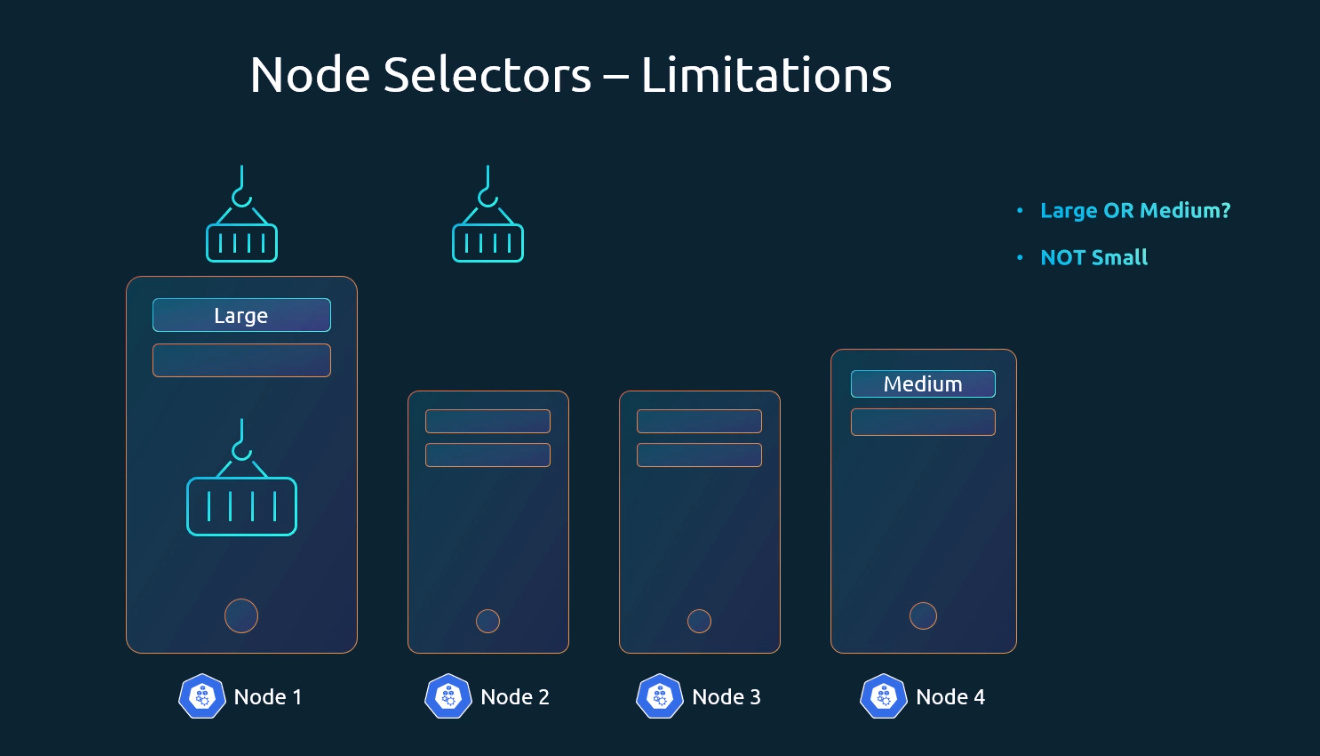
- NodeSelector works for simple cases with a single label.
- Complex rules (e.g., run on
large OR mediumnodes, or avoidsmallnodes) are not possible with NodeSelector. - For such scenarios, use Node Affinity and Anti-Affinity.